Boston Roll Sushi: Ingredients, Recipe & How to Make It ?
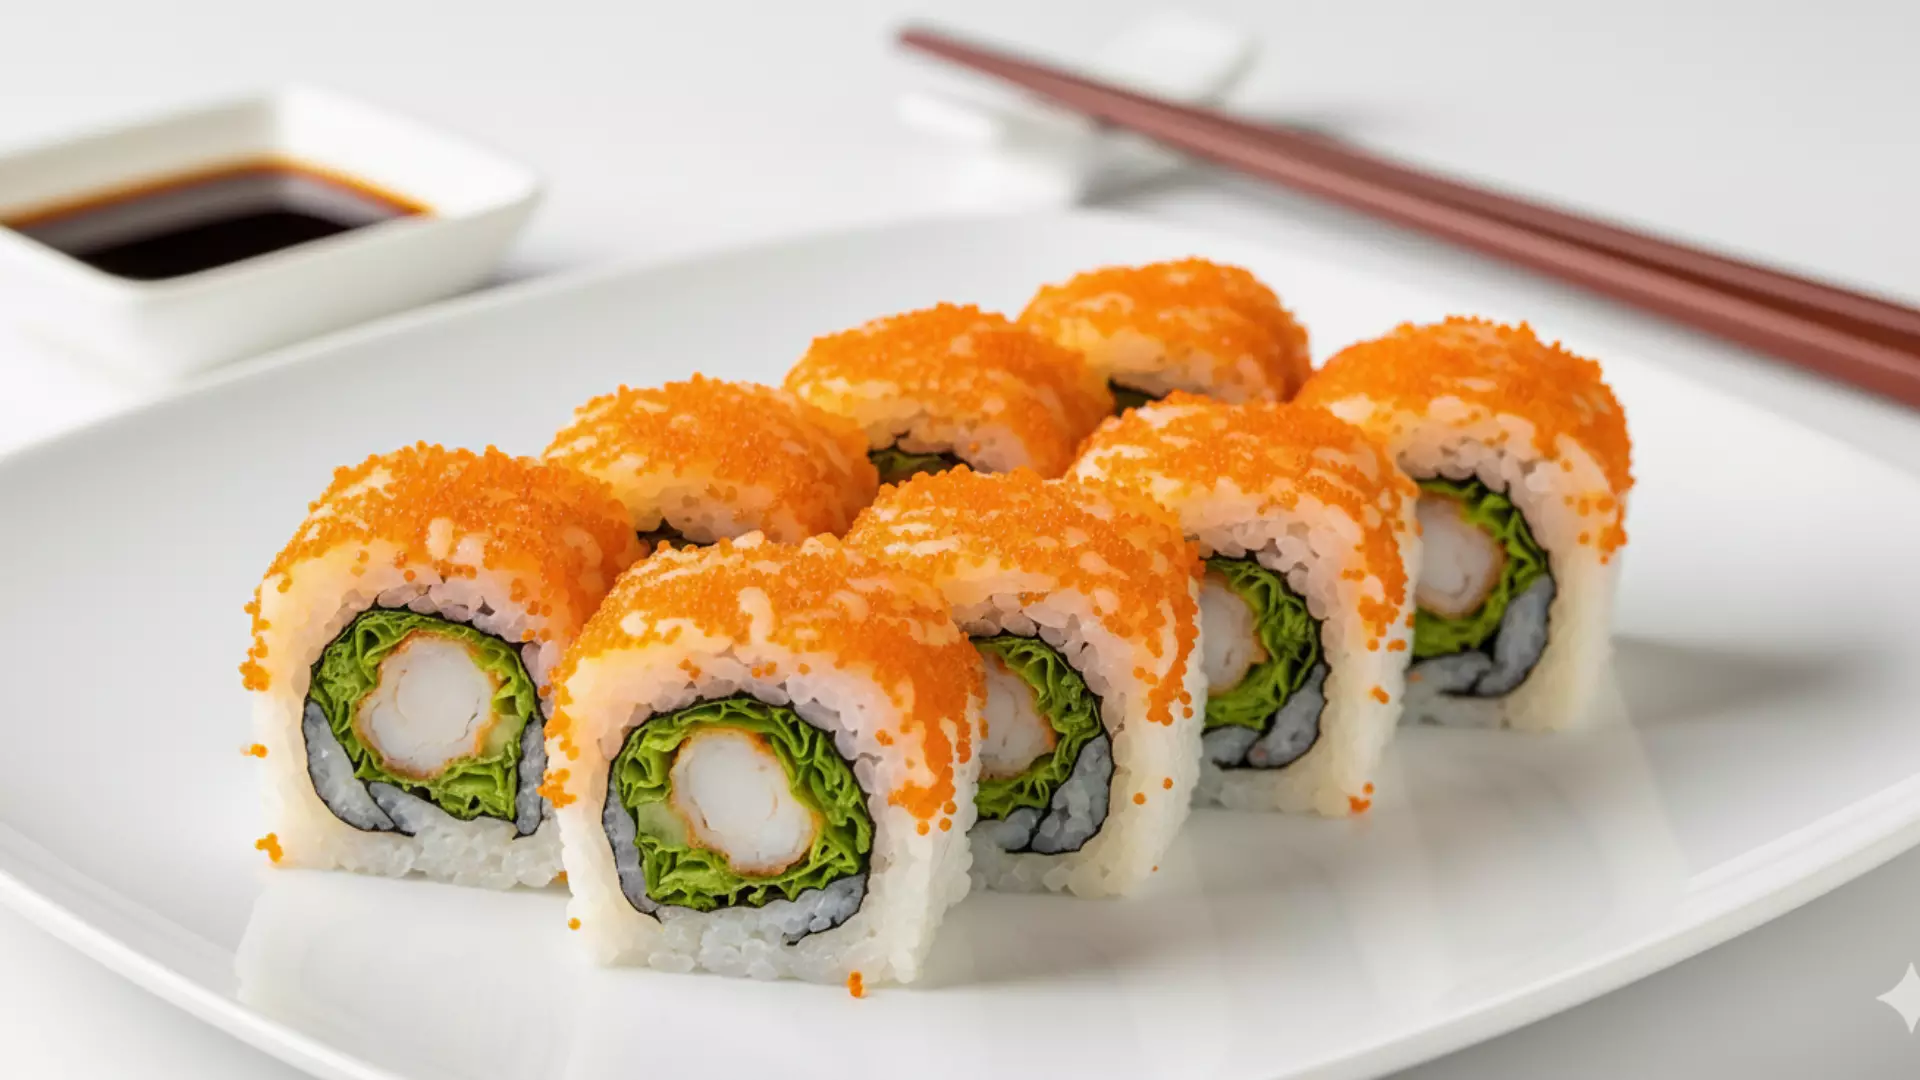
Boston Roll

So, you’re in the middle of the night and you’re craving for sushi, a mouth-watering and easy-to-make sushi recipe that you can enjoy with your favorite Netflix show. Plus, you’re also someone new to the sushi fam, so eating raw fish sushi feels overwhelming and a bit intimidating. Don’t hide that feeling. It’s completely alright. Here’s your solution: Boston Roll sushi is a go-to, kids-approved sushi, which means you can have it, literally. You know, kids are brutally honest 😀.

Moving on, we’re going to give you a little trailer of what you’re about to make by telling you the Boston roll recipe, the super easy-to-find ingredients, and some additional tips if your family or friends are coming over to your place for an exciting “sushi night”.

Ready to roll it up? A perfect sushi pun.

What Is A Boston Roll Sushi?

Back in the 1980s-1990s, when the culture of sushi got the boom in the West, the local chefs tried to adjust the sushi technique to the American taste and cuisine. That effort resulted in Boston Roll Sushi, aka Boston maki roll, which is designed very similarly to the one and only California Roll. These sushi rolls are basically loved because they’re beginner-friendly, best for every occasion, from late-night cravings to a family party.

The secret Boston roll ingredient that makes it stand out includes cooked shrimp instead of raw fish, creamy & rich avocado, crunchy cucumber, fresh lettuce, and tobiko to serve it. There’s another step of the recipe that makes it interesting: it’s a uramaki-style roll. This style was invented in the United States of America to hide the seaweed for American palates.

Another Filipino-American Sushi commonly used is termed as “Salmon Sushi Bake

What’s in a Boston Roll? [Ingredients Lineup]

To make an appetizing Boston Roll Sushi that leaves the family & friends wanting more, there’s a list of must-have ingredients you can’t ignore. We have divided the Boston roll sushi ingredients by categories to make it easier for you to skim and spot the one if you’re looking to double-check any ingredient in your list.

Sushi Rice & Seasoning

Japanese short-grain sushi rice: Short-grain rice is required because they do a great job of sticking with the sushi sheets.

Water: Of course, you need it to boil the rice at the right tenderness.

Rice vinegar: It works best for adding brightness, balancing seafood flavors, and preventing the rice from tasting flat.

Sugar: Helps soften the sharp flavor of vinegar, giving rice the ideal sweet-sour taste.

Salt: It enhances the overall flavor and keeps the rice savory.

Toasted nori sheet: The base of the sushi rolls, which keeps the filling in place and adds the umami flavor to it.

Main Filling 

Cooked shrimp: Acts like the star protein ingredient in the sushi rolls, sweet, meaty, and approachable for those who’re hesitant about trying raw fish.

Avocado: It’s used to add extra creamy richness in the sushi rolls and balance the sweetness of the shrimp.

Cucumber: Best for adding a crunch and freshness to the sushi roll.

Boston lettuce (optional): You can add it if you love the lettuce crispiness and a fresh “garden feel” 🤭.

Topping

Tobiko (flying fish roe): It’s not there just to add the “glamour”, but to enhance the overall taste.

Rolling Essentials

Makisu (bamboo mat): Essential to shape the rolls tightly so the filling is set, and a sushi beginner or a kid can pick it and eat it easily.

Plastic wrap: To prevent the rice from sticking to the mat surface.

Sharp knife + water (tezu): An overlooked tool yet, one of the most important, otherwise the roll will get squashed during the cutting.

Garnishing Options

Sesame seeds: A perfect go-to if you want a nutty aroma and visual contrast.

Spicy mayo: It completes your roll with the sweet shrimp and fresh cucumber, adding the needed kick to the overall taste.

Pickled ginger (gari): Technically, it’s not a topping but served on the side with the Boston sushi rolls. Usually, people have it when they wanna cleanse the roll bite so the next one tastes as if it’s the first one.

Wasabi: The sharp, green heat that lifts seafood sweetness (great with shrimp’s natural sweetness).

Soy sauce: Best option to give a savory depth and touch of salt to an otherwise mild roll.

A Finger-Licking Boston Roll Recipe: Step-by-Step Guide

Now, we’ll walk you through the kids-approved Boston roll sushi recipe that you can make at home without any extra effort. Here we go:

Step 1: Prepare the Sushi Rice (15 minutes)

It starts with taking 2 cups of sushi (short-grain Japanese rice) and washing it properly. Make sure you’re using cold water and rinsing until the water becomes mostly clear.

Next, you have to cook the rice with approx 2 ½ cups of water in a rice cooker, Instant Pot, or stovetop (whatever you have). Once you have cooked the rice and let it sit covered for 10 minutes, you transfer it into a large bowl.

While the rice is still warm, gently fold in a mixture of ¼ cup rice vinegar, 1tbsp sugar, and ½ tsp salt.

Step 2: Cook the Shrimp (10 minutes)

Cook the Shrimp

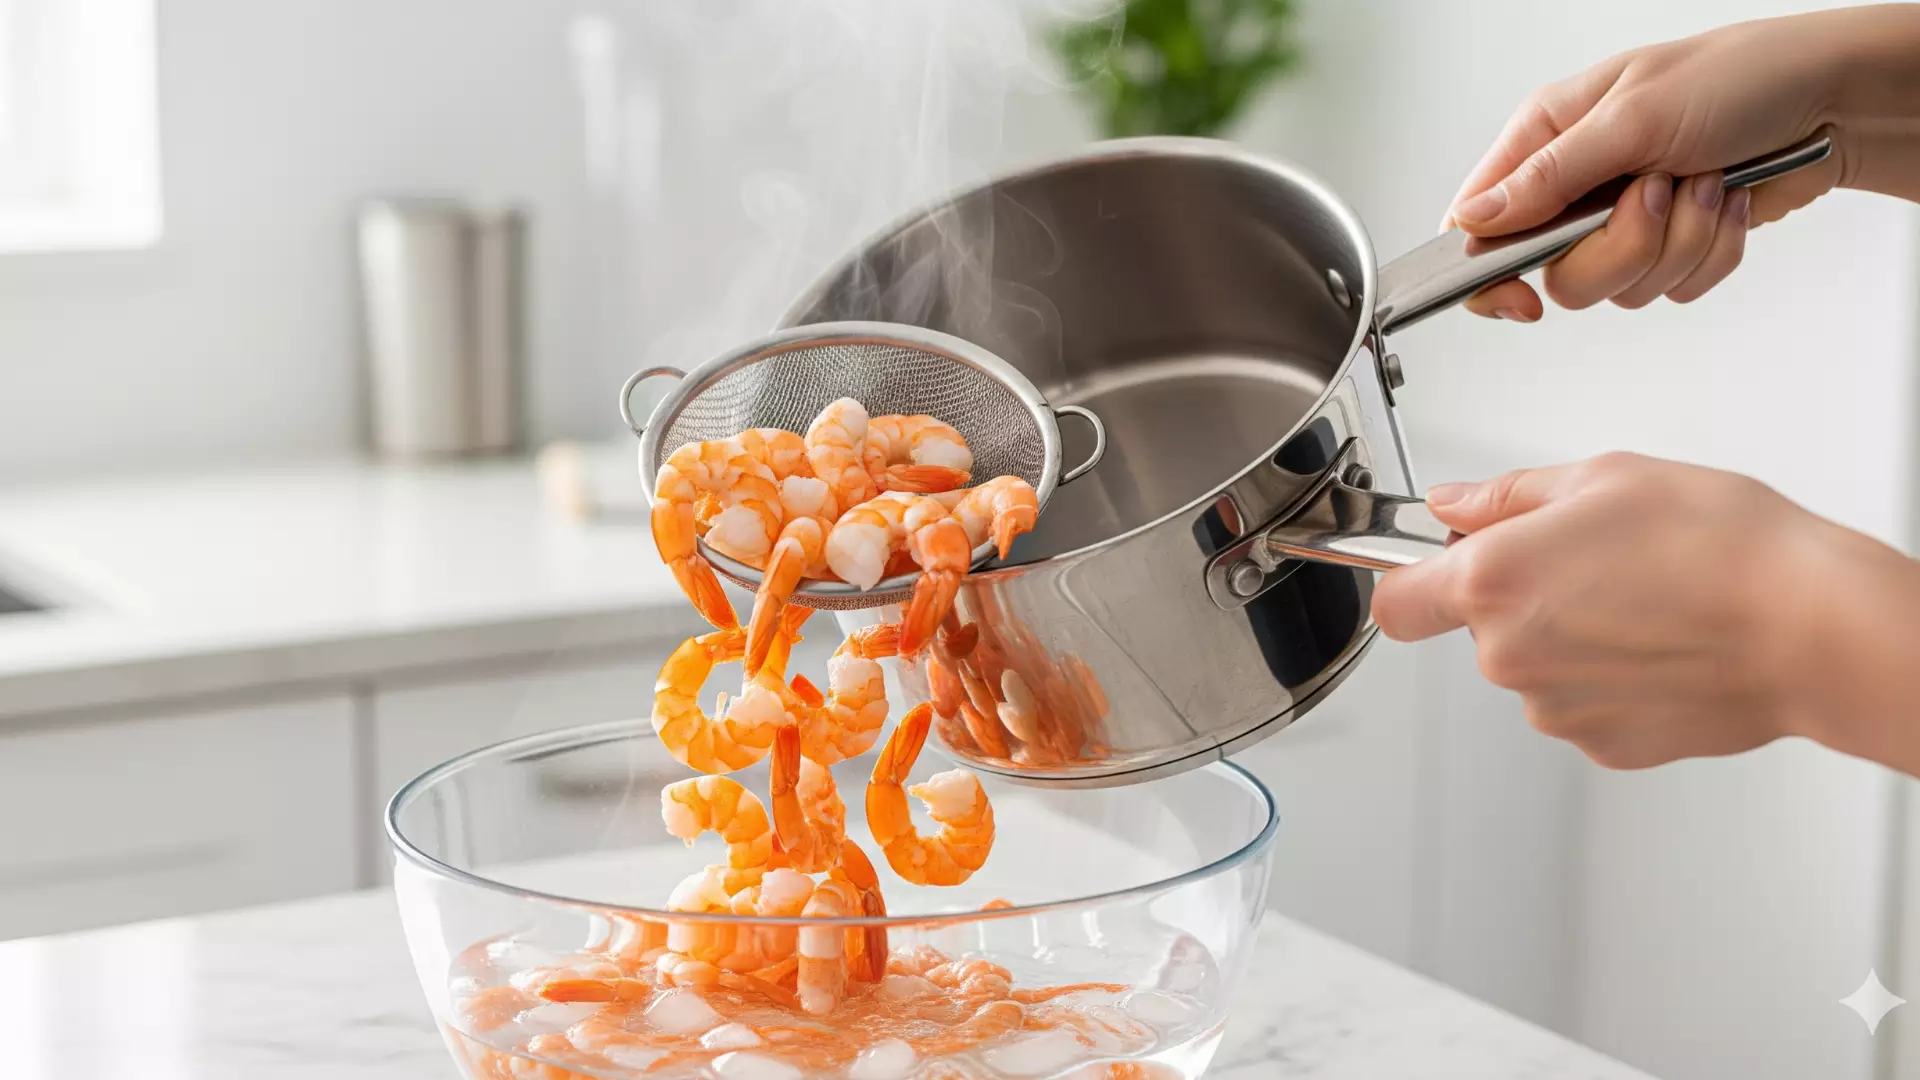
Boil salted water in a bowl and add 8-10 medium shrimps. You can devein, peel, and let the tail stay to enhance the presentation of the sushi roll. Cook the shrimps for about 2-3 times until the shrimps turn pink and opaque.

Immediately, take out the shrimps and let them sit in a strainer so the excess water drains. Then, put them in an ice water bowl to preserve the tenderness.

At this stage, you can cut the shrimp into slices if you want. It’s completely optional for you.

Step 3: Prepare the Vegetable & Dips (5 minutes)
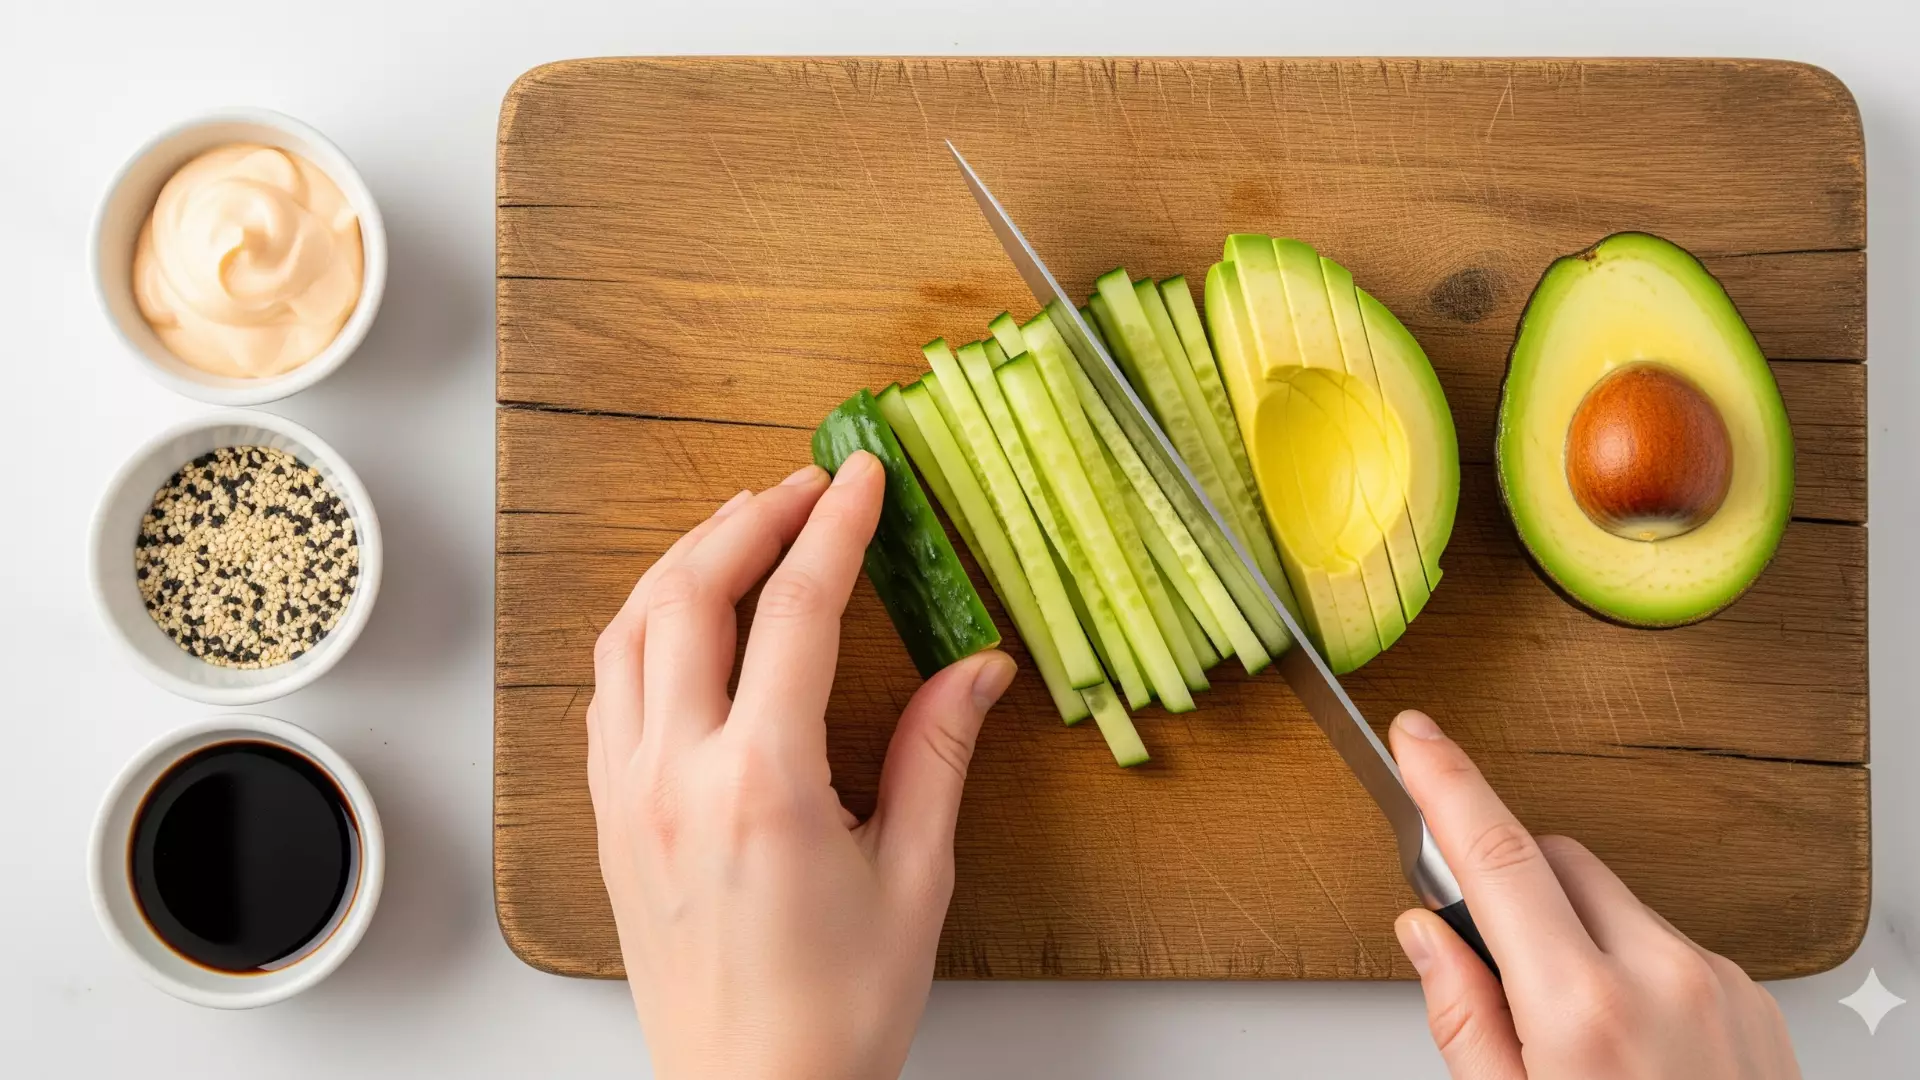
Get the Vegetables

It’s recommended that you cut everything into thin slices like a long matchstick strip. You can do it with a cucumber and an avocado. It will bring freshness and creaminess to balance the shrimp.

Make sure the chosen toppings and sides are ready. If you’re going with spicy mayo, then mix 2tbsp mayo + 1tsp sriracha. Similarly, if you prefer toasted sesame seeds, pickled ginger, wasabi, and soy sauce as dips, get them all ready before it’s time to roll.

Step 4: Assemble the Sushi Roll (2 minutes)
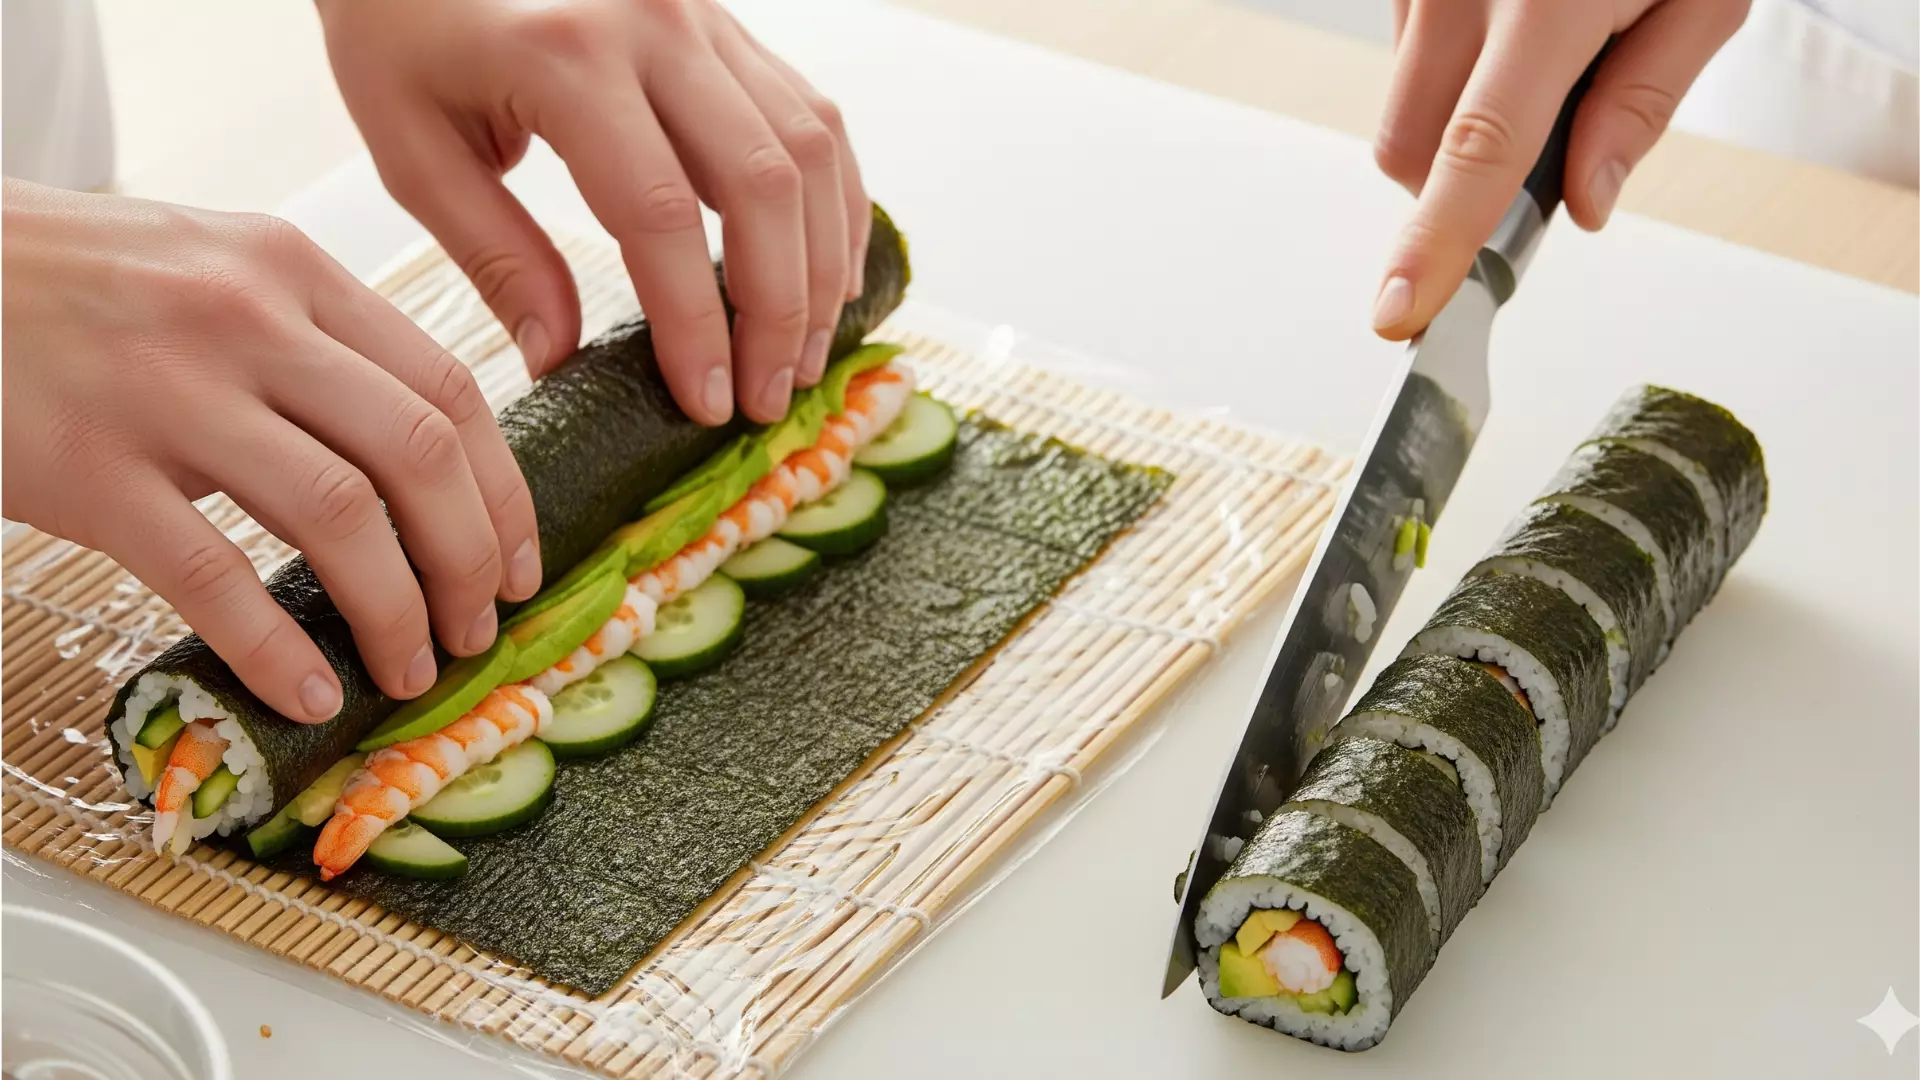
Before you get started with assembling, you have to make sure all the accessories are nearby you. Then, place a bamboo sushi mat on a flat surface and cover it with plastic wrap to prevent sticking. Keep the shiny side facing down the surface.

Keep your hands wet and spread a thin & equal layer over the nori sheet. Remember, you have to leave at least a 1-inch gap between the border and the rice layer.

On the rice side closest to you, you have to layer shrimp, cucumber, and avocado in a straight line, and you can also add a small drizzle of spicy mayo if you want.

Roll the Sushi

Step 5: Roll the Sushi (5 minutes)

To roll the sushi tightly and perfectly, you have to use your thumbs and lift the bamboo mat from the closest edge to your finger while maintaining the filling in place with your fingers.

Then, you’re gonna roll it over once while tucking the ingredients tightly and keep rolling until it’s completely sealed.

Now, you have to dip your fingers in water and lightly moisten the exposed nori edge to seal the roll shut. Squeeze the bamboo mat around the roll to give it a neat cylinder shape, but do it with gentle hands.

Step 6: Slice and Garnish (3 minutes)

Make sure you have a super sharp knife to slice the rolls. Ideally, each roll will be divided into 8 even pieces without squeezing the sushi rolls.

It’s time to serve them by arranging them in a serving place and sprinkling with toasted sesame seeds. You can use other garnishing options such as tobiko, pickled ginger, wasabi, and soy sauce as per your (or your kids) preference.

The total prep time will be around 30 minutes, while it would take approximately 20 minutes the cook. So, you can easily make it within 50 minutes if you have all the Boston roll ingredients ready to go.

Boston Roll Calories & Nutrition Information

Based on the amount of ingredients used in the recipe above, this is the estimated nutrition information and calories in a Boston roll sushi. Keep in mind, this nutrition information doesn’t sit above the professional nutritionist’s advice.

Nutrient

Amount (Whole Roll)

Per Piece (1//8)

Calories

1007 kcal

125 kcal

Carbohydrates

98g

12g

Protein

46g

6g

Total Fat

45.7g

5.7g

Saturated Fat

7g

0.9g

Polyunsaturated Fat

8g

1g

Monounsaturated Fat

19g

2.3g

Cholesterol

70mg

9mg

Sodium

1180mg

148mg

Potassium

830mg

104mg

Fiber

9g

1.1g

Sugar

8g

1g

Vitamin A

280IU

35IU

Vitamin C

9mg

1.1mg

Calcium

60mg

7.5mg

Iron

3.2mg

0.4mg

Foolproof Cooking & Storage Tips Every Sushi Beginner Needs

Don’t panic if you’re doing it for the first time and you make a mess. As a famous Japanese Chef Nobuyuki Matsuhisa (Nobu) once said, “The first time you attempt to roll sushi, there’s one thing you’ll have to quickly accept: you’re bound to make mess—but that’s not a bad thing…Mistakes are good news because how else can you learn? Even I still make mistakes.”

So, don’t panic and try to follow these simple tips that can help you do it a lot better than those who don’t follow them.

1. When you’re seasoning the sushi rice, make sure it’s a little warm so it can absorb the vinegar mixture pretty well. But before you roll them, they have to be cooled down.

2. Don’t forget to soak your sharp knife in the water before you’re about to slice the rolls.

3. Sometimes, the nori sheets feel super thin, so they’re bound to tear easily even if you do it with gentle hands. So, the trick is to use two half-sheets slightly before rolling.

4. If you add a thin streak of wasabi or spicy mayo directly on the nori before you layer the rice, it’s gonna be freakin’ delicious.

5. To enhance the crispiness of cucumber and avocado (especially), you can put them into an iced-water bowl before you fill them into the Boston sushi rolls.

6. If you’re having a party at your place or wanna save time, you can prepare and refrigerate shrimps, avocado,, cucumber (separately). And roll right before serving to get the fresh taste.

7. To soften the hardened rice the next day, you can steam the rice side in a microwave with a damp paper towel for 10 seconds. And tadaaa! You can have your equally mouth-watering Boston sushi rolls as the day before.

The Bottom Line

Making sushi rolls for yourself or your family has become a way to express your care and love for them and yourself. And especially, if you’re someone who hasn’t made it before, it’s a great chance to learn it and serve restaurant-quality Boston Rolls sushi for your family and make memories with them. Of course, it would take practice to perfect your sushi rolls, but all the time and effort is absolutely worth it! Now, you have the recipe, ingredients, and tips, and you’re set to acquire a new skill. How amazing is that! Once you have made it a few times, you can add your creativity and bring new flavours to this recipe.

Frequently Asked Questions – FAQs

It typically contains cooked shrimp, avocado, cucumber, lettuce, and sushi rice in the filling and tobiko, sesame seeds, and spicy mayo as the toppings + sides with the sushi rolls.

The basic difference is that the Boston one contains cooked shrimp as the signature ingredient, while the Philadelphia uses smoked salmon. Moreover, the Philadelphia roll has a creamy texture because of cream cheese, while the Boston one doesn’t. Boston is light while Philadelphia is a bit heavier for the stomach.

Hell yeah! If you don’t wanna have shrimp in your roll sushi recipe, you can go with crab, lobster, cooked salmon or tuna, grilled or teriyaki chicken, or even tempura vegetables. Whatever sits well with you, have it!

The shrimp is either poached or steamed before being rolled, so it’s safe to say that Boston Roll sushi is cooked because it doesn’t have raw fish in it.

Boston Roll tastes really different from the traditional Japanese sushi roll because it promotes raw fish and has quite minimal flavor in the sushi. It was invented by the chefs of the United States to align the dish with American preferences.